
Coconut & Roasted Cherry Ice Cream


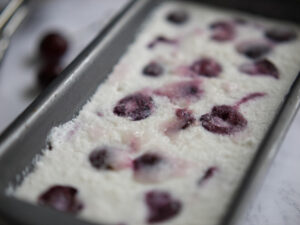
This is perfect recipe for coconut lovers! Enjoy a cooling pudding for hot summer days, using seasonal cherries paired with rich, creamy coconut. My coconut and cherry ice cream is the ultimate decadent chilled sweet treat and is a winner with friends and family. There is no churning or ice-cream maker required! It’s a perfect ice cream recipe for those on a dairy-free or plant-based diet and it’s also free from the 14 key allergens.
This ice cream is suitable from 3 years plus, as it does contain a little sugar in the condensed coconut milk (but not nearly as much as in commercial ice cream)
Cherries are bursting with vitamins, minerals, nutrients, and fibre. They contain vitamins A, C and K, whilst also delivering potassium, calcium and magnesium. They also bursting with polyphenols, like beta-carotene, and the essential learning nutrient choline. Research also suggests that cherries may have anti-inflammatory benefits from plant compounds.
Get our lovely Healthy Bites newsletter!
Each week, you’ll get an amazing recipe, a useful health tip, and an ingredient to jazz up your shopping basket!
Coconut & Roasted Cherry Ice Cream
Ingredients
- 200 g Cherries
- 210 g Coconut Milk (tinned sweetened condensed)
- 400 ml Coconut Cream (tinned, ideally whipping coconut cream)
- 1 tsp Vanilla Extract
Instructions
- Preheat oven to 180°C (fan). Line a small roasting tin with baking paper.
- Stone and halve the cherries, place in the roasting tin and roast for 20 minutes, shaking occasionally. Set aside to cool.
- Gently whisk the sweetened condensed coconut milk, coconut cream and vanilla extract together until smooth. Pour into a 1 litre loaf tin.
- Add the cooled roasted cherries, and gently stir. Cover, and set on a flat shelf in the freezer for 4-5 hours until frozen. When ready to serve, allow to soften slightly before scooping out.
Notes
- Roasting the cherries means that they don’t go ‘icy’ when frozen, so it’s worth adding in this step!
- Biona make both wonderful organic condensed coconut milk and coconut whipping cream which are brilliant larder ingredients to have to hand, especially if you are plant-based or dairy-free.
- To make your own condensed coconut milk pour the contents of tin of full-fat coconut milk into a small saucepan and heat over medium-high heat until boiling for about 5 minutes. Watch the saucepan closely and stir very often to stop it from bubbling-over or burning. Then reduce the heat, bringing the coconut milk to a gentle simmer. Then add 60ml or ¼ cup of honey or maple syrup and whisk until it’s completely dissolved. Allow to simmer for 30-45 minutes, or until the liquid is reduced by half and then cool before using in a recipe. Store in the fridge until needed.
- The finished ice cream should keep for up to 3 months in your freezer.
Per serving. Nutrition content in food is never consistent, so take these estimates with a pinch of salt! Also, our recipes tend to use low-GI carbs and sugars, so these values are not directly comparable with shop-bought UPFs.
Get more recipes like this
Lucinda's cookbooks
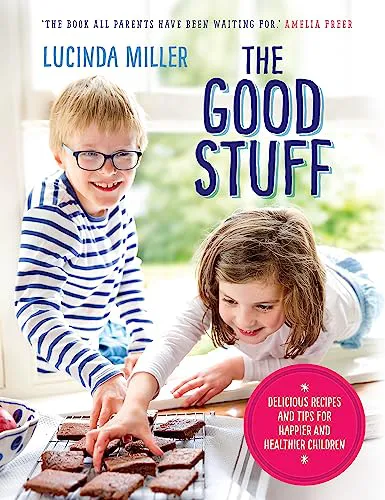
The Good Stuff
Over 100 easy recipes for toddlers to teens, with clever swaps for the main allergens.
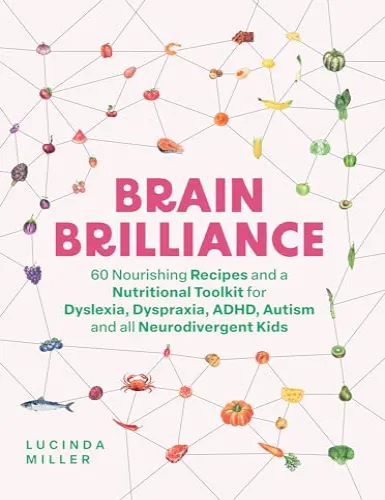
Brain Brilliance
60 nourishing recipes and a nutrition toolkit for dyslexia, dyspraxia, ADHD, autism and all neurodivergent kids.
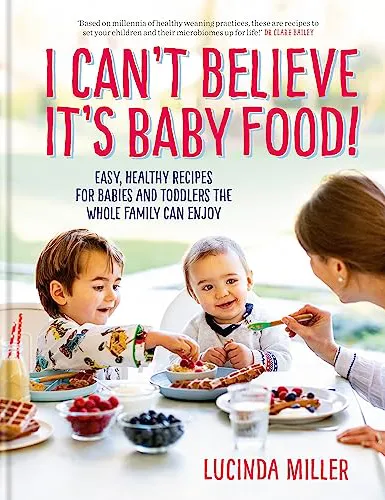
I Can't Believe It's Baby Food
Cook once with more than 120 weaning recipes from six months that the whole family can share.
Three bestselling family nutrition cookbooks from NatureDoc founder Lucinda Miller, packed with recipes that feed growing brains, gut and immunity.
Another amazing recipe! It is so delicious. My fave.