
Apple & Raspberry Roll-Ups

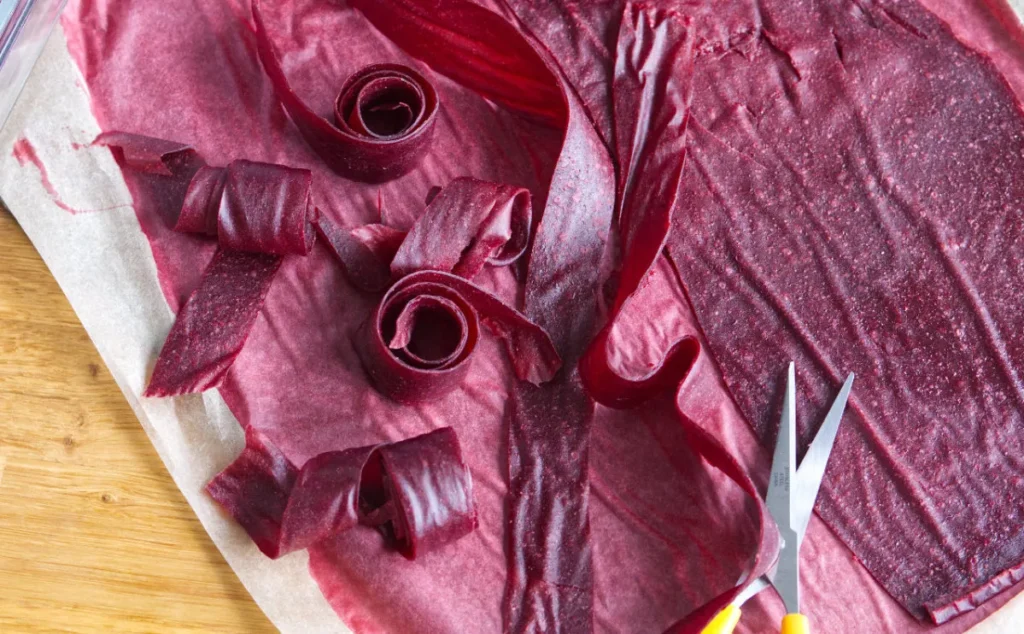
Kids just love to chew on a fruity roll-up, and these homemade fruit leathers combine an all-time favourite combination of sweet apple and tart raspberry. Pop one in your child’s lunch box or snack-box or bring along for an after-school snack and they will be delighted!
This recipe is a lovely way to preserve your glut of autumn fruit; stored in a jar, these goodies last up to a year. Pack in the fibre and polyphenols from the apple and the raspberries to make this a gut-friendly snack.
It is a perfect recipe for kids with allergies and intolerances as it is naturally gluten-free, dairy-free, egg-free and nut-free.
Get our lovely Healthy Bites newsletter!
Each week, you’ll get an amazing recipe, a useful health tip, and an ingredient to jazz up your shopping basket!
Apple & Raspberry Roll-Ups
Ingredients
- 600 grams Apples (sweet such as Pink Lady, Gala or Braeburn)
- 400 grams Raspberries (fresh or frozen)
- 1 Lemon (juice only)
- 2 tbsp Water
- 1 tsp Vanilla Extract
- 1 pinch Sea Salt
- 2 tbsp Honey (runny honey or maple syrup)
Instructions
- Heat the oven to its lowest setting, usually 50–60°C, and line two baking trays with parchment paper. If you don’t have a vent for your oven, prop the oven door slightly ajar with a wooden spoon so the moisture can escape as a sealed oven just recirculates steam and doubles the drying time.
- Peel, core and roughly chop the apples and put them in a pan with the water and half the lemon juice. Simmer gently for 15–20 minutes until the apple is completely collapsing.
- Now blend the cooked apple until absolutely smooth. If it looks at all watery, return it to the pan and stir over a low heat for a few minutes to thicken as a thicker purée means shorter drying and more concentrated flavour. Leave the apple to cool for 10 minutes.
- Blend the raspberries and press them through a fine sieve with the back of a ladle to remove the seeds. It takes a few minutes of pushing and is the only fiddly bit of this recipe, but this is an important step if your child is a fussy eater and doesn’t like pips. You can also use a mouli grinder or a food mill.
- Stir the raspberry purée into the warm apple, along with the vanilla extract, a pinch of sea salt, the rest of the lemon juice and the runny honey to taste. It should taste slightly sharper and slightly sweeter than you think is right.
- Divide the mixture between the two lined trays and spread to an even layer about 2-3mm thick, going very slightly thicker at the edges. Edges always dry first, and this is what stops you getting brittle borders around a sticky middle.
- Dry for 8–12 hours, or overnight. It's ready when the surface is tacky but not sticky, it peels cleanly off the parchment, and there are no soft wet patches in the centre. If in any doubt, give it another hour.
- Cool completely, peel off the paper and then cut into strips with sharp scissors.
Notes
Nutrition
Per serving. Nutrition content in food is never consistent, so take these estimates with a pinch of salt! Also, our recipes tend to use low-GI carbs and sugars, so these values are not directly comparable with shop-bought UPFs.
Get more recipes like this
Lucinda's cookbooks
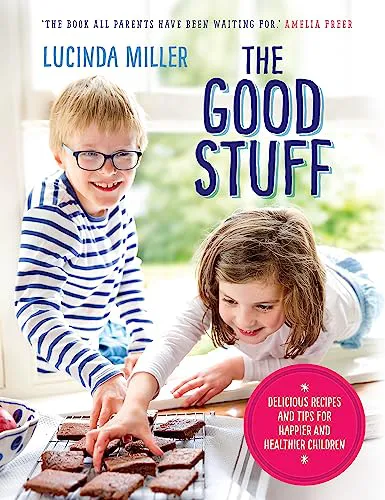
The Good Stuff
Over 100 easy recipes for toddlers to teens, with clever swaps for the main allergens.
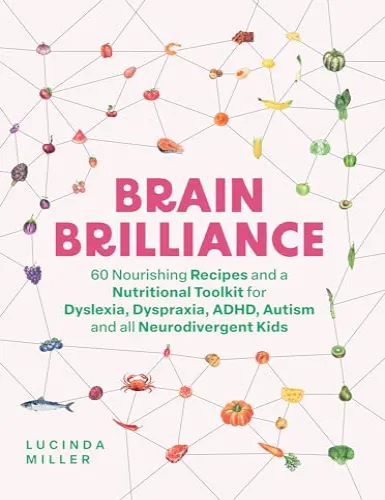
Brain Brilliance
60 nourishing recipes and a nutrition toolkit for dyslexia, dyspraxia, ADHD, autism and all neurodivergent kids.

I Can't Believe It's Baby Food
Cook once with more than 120 weaning recipes from six months that the whole family can share.
Three bestselling family nutrition cookbooks from NatureDoc founder Lucinda Miller, packed with recipes that feed growing brains, gut and immunity.
Love this idea!